SKU: IOWC-1889
📋 GST Invoice Available

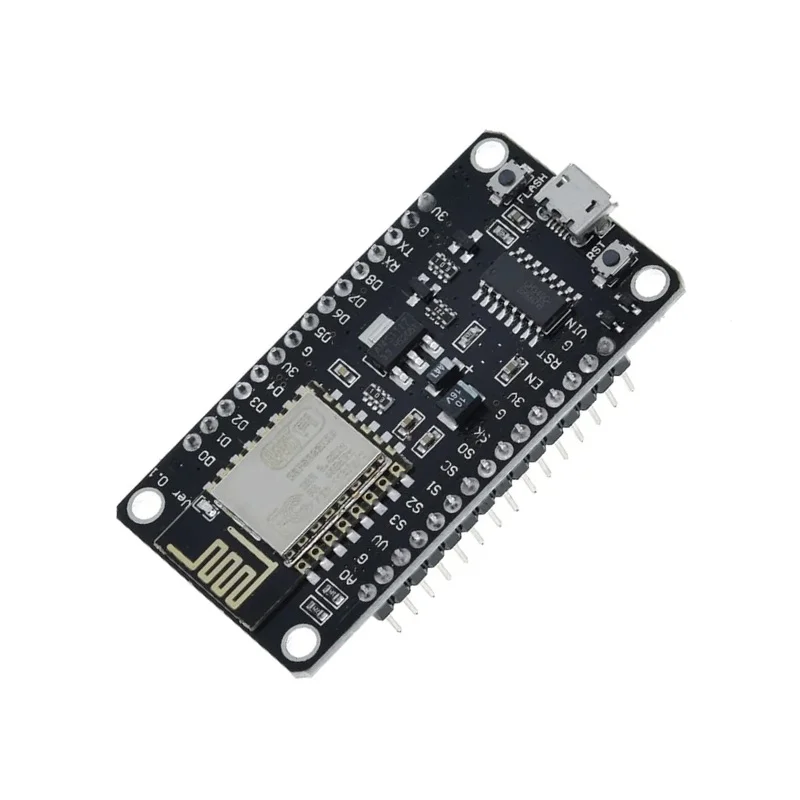
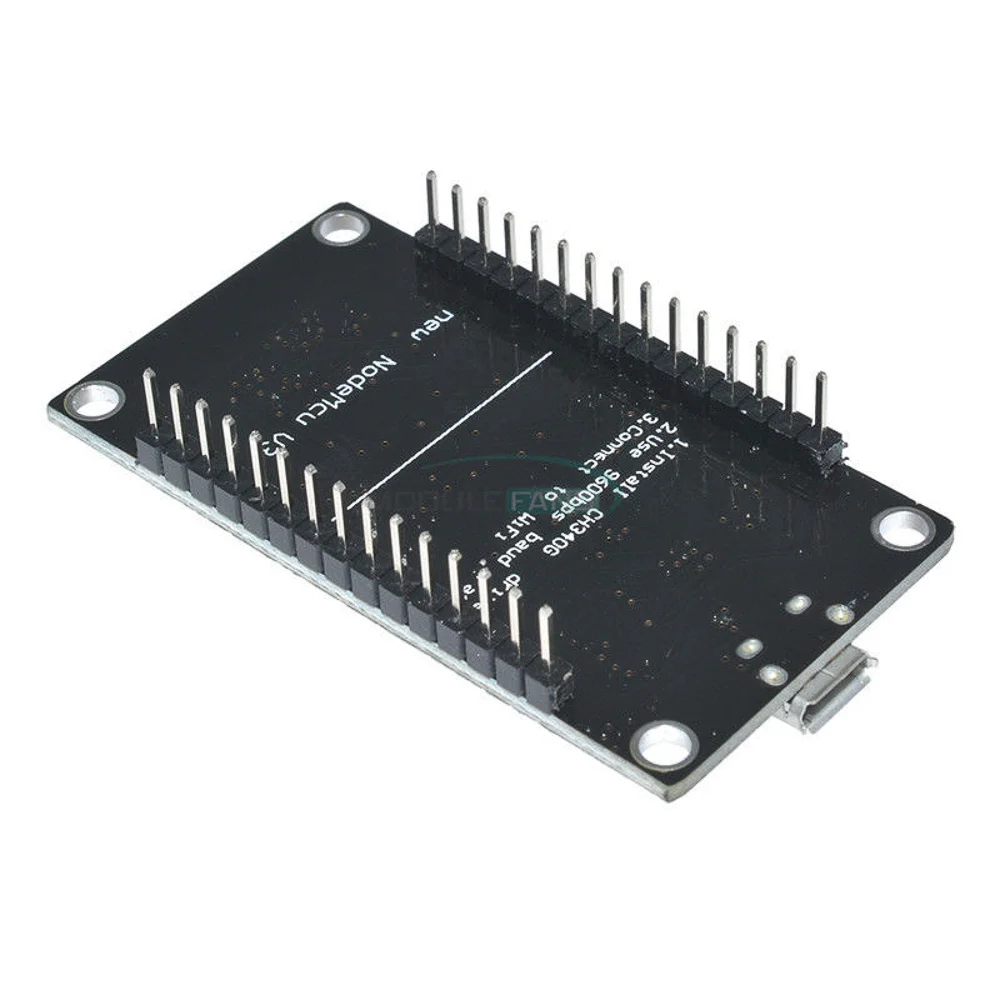
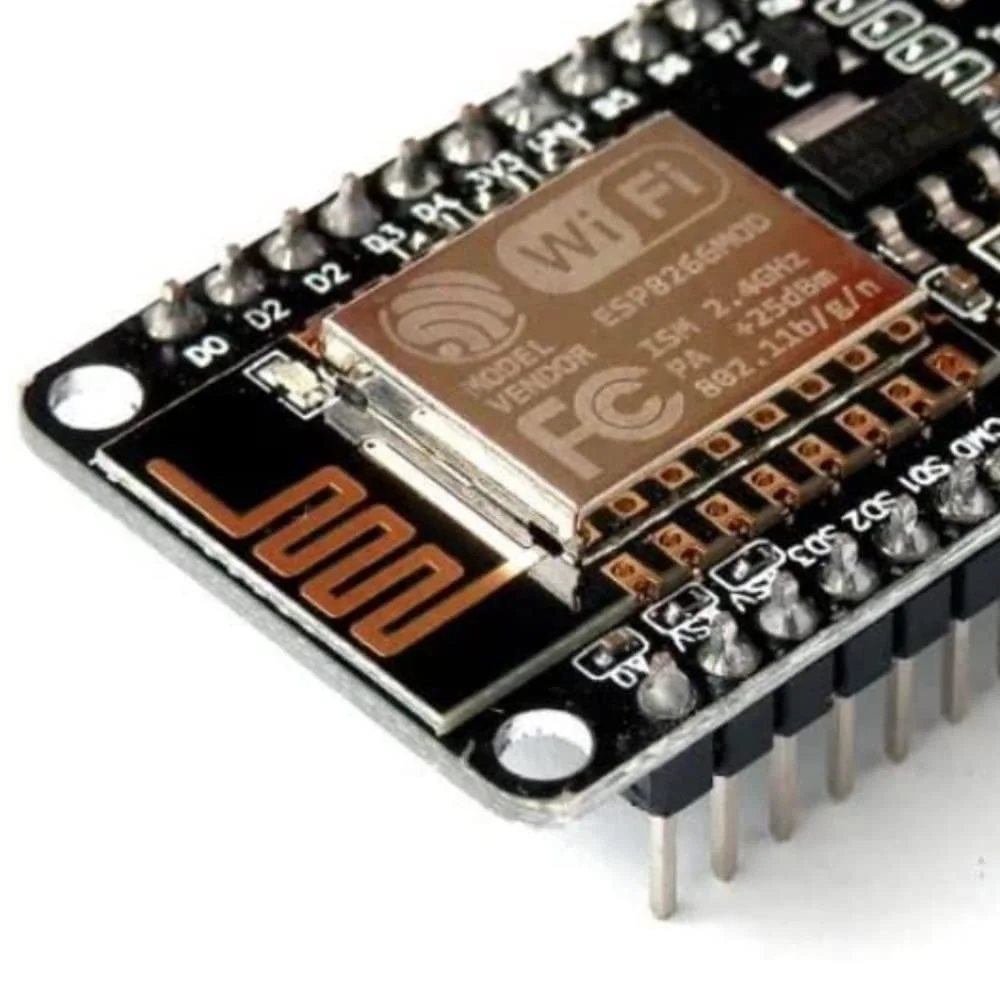
NodeMCU ESP8266 V3 Lua CH340 Wi-Fi Development Board

₹193.00 (Inclusive of all taxes)
Out of Stock

The NodeMCU ESP8266 V3 is a low-cost Wi-Fi development board featuring the ESP8266 SoC and CH340G USB-to-serial chip, programmable via the Arduino IDE or NodeMCU’s Lua scripting for rapid IoT prototyping.

Features

  • Powered by the ESP8266 Wi-Fi SoC with integrated TCP/IP stack for 2.4GHz 802.11 b/g/n connectivity (STA/AP/STA+AP modes).
  • Features a stable CH340G USB-to-serial converter for reliable firmware flashing and serial communication across platforms.
  • Provides extensive GPIO, PWM, I2C, 1-Wire, and a 10-bit ADC interface for connecting sensors, actuators, and peripherals.
  • Includes 4MB of flash memory for storing application code, filesystems, and supports Over-The-Air (OTA) firmware updates.
  • Open-source NodeMCU firmware enables event-driven, Lua-based scripting for rapid application development without deep embedded C knowledge.

Out of stock

Description

The NodeMCU ESP8266 V3 development board integrates the popular ESP8266 Wi-Fi microcontroller with a CH340G USB-to-TTL serial chip, offering a complete platform for building connected IoT devices. It delivers robust 2.4GHz Wi-Fi with support for common security protocols (WPA/WPA2) and multiple operating modes, allowing it to act as a station, access point, or both simultaneously.

Designed for rapid prototyping, the board breaks out most ESP8266 GPIOs, including digital I/O, PWM, I2C, 1-Wire, and a dedicated analog input channel. Its 4MB flash provides ample space for application code and supports remote OTA updates. The board is compatible with the Arduino IDE using community boards packages, the official Espressif SDK, and the native NodeMCU Lua interpreter for script-based development.

Key Features

  • ESP8266-based Wi-Fi MCU with integrated TCP/IP protocol stack and 2.4GHz 802.11 b/g/n radio.
  • Industrial-grade CH340G USB-to-serial chip ensures stable connectivity for programming and debugging.
  • Comprehensive hardware interfaces: GPIO, PWM, I2C, 1-Wire, and a 10-bit ADC channel.
  • Supports Station (STA), Access Point (AP), and combined STA+AP Wi-Fi operating modes.
  • 4MB flash memory enables complex applications and supports Over-The-Air (OTA) updates.
  • Open-source NodeMCU firmware allows for interactive Lua scripting and event-driven API for network applications.
  • Wide operating voltage input via USB (5V) or external supply (4.5V to 9V).
  • Compact form-factor with all components onboard, ready for prototyping and integration.

Applications

  • Smart home automation sensors and controllers (lights, thermostats, switches).
  • IoT data logging nodes for environmental monitoring (temperature, humidity).
  • Wi-Fi-enabled prototypes and proof-of-concept devices for makers and developers.
  • Remote control and status monitoring systems via web servers or MQTT.
  • Educational platforms for learning embedded systems, networking, and IoT.

Technical Specifications

Microcontroller/SoCESP8266
Wireless ProtocolWi-Fi 802.11 b/g/n
Frequency Range2.4GHz
USB-to-SerialCH340G
Flash Memory4 MB
Supply Voltage4.5V - 9V (via Vin/USB 5V)
I/O InterfacesGPIO, PWM, I2C, 1-Wire, ADC
ADC Channels1 (10-bit)
Operating Temperature-40°C to +125°C
Dimensions (LxW)58mm x 31mm

Frequently Asked Questions

How do I program the NodeMCU ESP8266 V3 board?

You can program it using the Arduino IDE by installing the ESP8266 board package via Boards Manager. Alternatively, flash the NodeMCU firmware to use Lua scripting. Connect via USB, select the correct COM port and board model (e.g., NodeMCU 1.0), then upload your code. The CH340G driver may need installation on your computer first.

What is the difference between the CP2102 and CH340G USB chips?

The V3 board uses the CH340G chip instead of the CP2102. Functionally, both provide USB-to-serial conversion for programming and serial communication. The main difference is the driver requirement; CH340G drivers are widely available but must be installed separately on some operating systems, while CP2102 drivers are often pre-installed.

What power supply should I use for this board?

The board can be powered directly via its micro-USB port (5V). For standalone operation, you can supply 4.5V to 9V to the 'Vin' pin. The onboard voltage regulator steps this down to the 3.3V required by the ESP8266. Ensure your power source can provide sufficient current, especially when Wi-Fi is active.

How do I perform Over-The-Air (OTA) updates?

OTA updates require an initial serial upload of an OTA-capable sketch. In Arduino IDE, use the 'ESP8266 Sketch Data Upload' tool for SPIFFS and select 'OTA' as the upload method in subsequent updates. Your code must include OTA library calls and the device must be connected to Wi-Fi. This allows wireless firmware deployment without a USB cable.

Package Includes

  • 1 x NodeMCU ESP8266 V3 Lua CH340 Wi-Fi Development Board

Additional Information

Weight 0.06 kg
Dimensions 5.8 × 3.1 cm