SKU: IOWC-1426
📋 GST Invoice Available

ESP8266 NodeMCU IoT Starter Kit w/ DHT11 Sensor & OLED Display

₹1,109.00 (Inclusive of all taxes)
Out of Stock

This ESP8266 IoT starter kit provides a complete hardware platform for Wi-Fi-enabled projects, centered on a NodeMCU development board with a CP2102 USB-to-serial chip. It includes a DHT11 temperature/humidity sensor and a 0.96-inch I2C OLED display for immediate data visualization, ideal for prototyping with Arduino IDE or MicroPython.

Features

  • Complete IoT Prototyping Kit: Includes ESP8266 NodeMCU board, DHT11 sensor, OLED display, and USB cable for immediate project start.
  • Integrated Wi-Fi Connectivity: The ESP8266 SoC provides full 802.11 b/g/n Wi-Fi networking for hosting applications or connecting to cloud services.
  • Onboard Sensor & Display: DHT11 sensor enables environmental monitoring, while the I2C OLED provides real-time data readout without external serial monitors.
  • Developer-Friendly Form Factor: NodeMCU board features breadboard-compatible pinout and pre-flashed firmware for rapid Arduino IDE or MicroPython integration.

Out of stock

Description

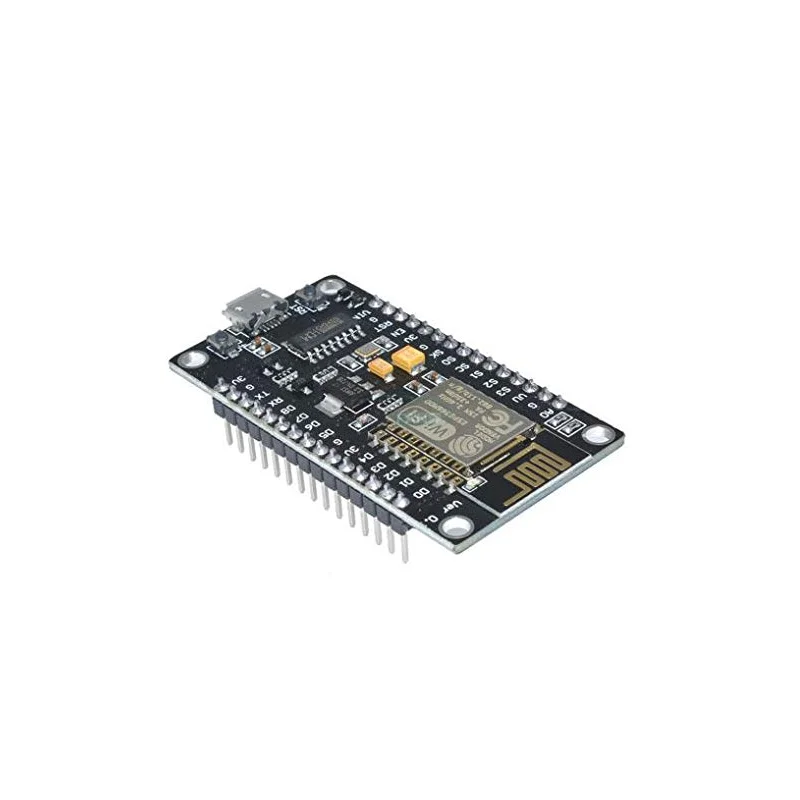
This starter kit is engineered for developers and makers entering IoT development, bundling essential components around the popular ESP8266 NodeMCU platform. The core board integrates the ESP8266 Wi-Fi SoC with a CP2102 USB-to-serial converter, GPIO breakout, and 4MB flash, providing a self-contained wireless networking solution that can host applications or offload Wi-Fi tasks from a main processor.

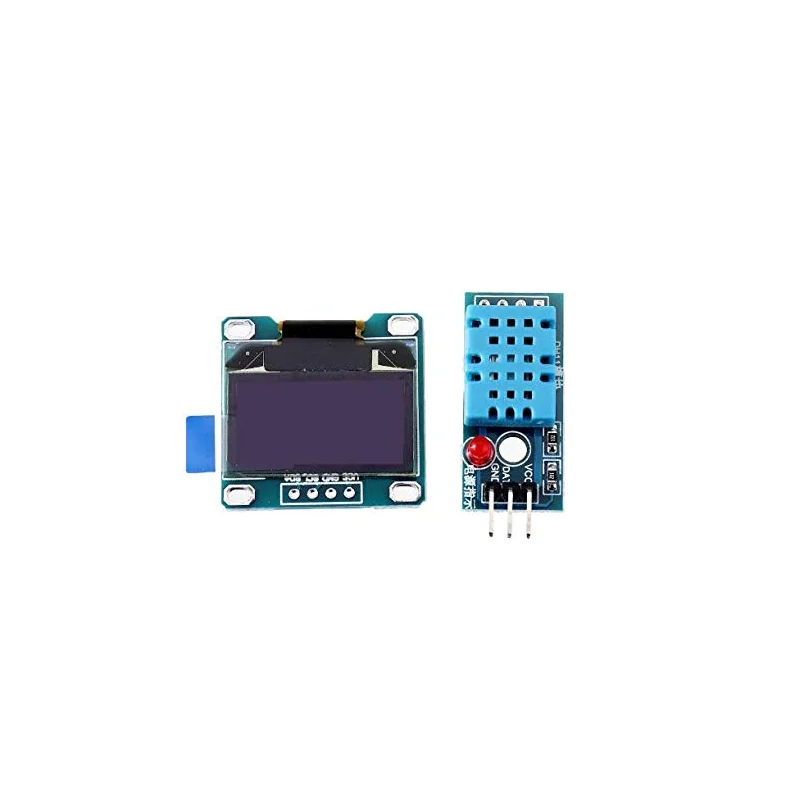
The included DHT11 digital temperature and humidity sensor offers basic environmental sensing with a 20-90% RH and 0-50°C range, while the 0.96-inch 128×64 I2C OLED display provides immediate visual feedback for sensor data or system status. The kit’s components are selected for compatibility, allowing users to prototype wireless sensor nodes, smart home devices, or data loggers with minimal additional hardware.

Key Features

  • All-in-One IoT Development Platform: Combines processing, connectivity, sensing, and display in a single kit for streamlined prototyping.
  • ESP8266 NodeMCU with CP2102 Interface: Offers easy programming and serial communication via a standard Micro-USB cable, compatible with Arduino IDE and ESP8266 core.
  • Integrated Environmental Sensing: DHT11 sensor provides digital output for temperature and humidity readings with ±2°C and ±5% RH accuracy.
  • Visual Data Output: I2C OLED display (SSD1306 driver) shows real-time sensor data, system status, or custom graphics without a computer.
  • Breadboard-Compatible Design: NodeMCU board pins are spaced for direct insertion into standard breadboards, facilitating circuit building and testing.
  • Pre-flashed Firmware: The board typically comes with the NodeMCU Lua interpreter or AT command firmware, ready for immediate Wi-Fi configuration.

Applications

  • IoT Prototyping & Education: Ideal for learning embedded systems, Wi-Fi connectivity, and sensor integration.
  • Smart Home Sensors: Build wireless temperature/humidity monitors for home automation systems (e.g., Home Assistant, MQTT).
  • Environmental Data Loggers: Create portable, battery-powered stations to record and display climate data.
  • Wireless Display Projects: Develop IoT dashboards that show real-time information from APIs or local sensors on the OLED.

Technical Specifications

Microcontroller / SoCESP8266
Wireless Protocol802.11 b/g/n Wi-Fi
USB-to-SerialCP2102
Sensors IncludedDHT11 (Temperature & Humidity)
Display Included0.96-inch I2C OLED (128x64, SSD1306)
InterfaceMicro-USB, GPIO, I2C, Analog Input
Board Dimensions (approx.)49mm x 24mm
Board Weight8g

Frequently Asked Questions

How do I program the ESP8266 NodeMCU board in this kit?

Install the ESP8266 board package in the Arduino IDE via Boards Manager. Select 'NodeMCU 1.0 (ESP-12E Module)' as the board. Connect the board via the provided Micro-USB cable, choose the correct COM port, and upload your sketch. The CP2102 driver may need to be installed on your computer for serial communication. You can also use MicroPython or the ESP-IDF framework for more advanced development.

How do I connect the DHT11 sensor and OLED display to the NodeMCU?

The DHT11 sensor has three pins: VCC (3.3V), GND, and DATA. Connect DATA to a GPIO pin (e.g., D4). For the I2C OLED display, connect VCC to 3.3V, GND to GND, SCL to D1 (GPIO5), and SDA to D2 (GPIO4). You will need to install the Adafruit DHT and Adafruit SSD1306 libraries in the Arduino IDE. Example code for reading the sensor and displaying data on the OLED is widely available online.

What is the power requirement for this ESP8266 kit?

The NodeMCU board is powered via the Micro-USB port at 5V. During active Wi-Fi transmission, the board can draw up to 200-300mA. For battery operation, a 3.7V LiPo battery can be connected to the onboard battery connector, or you can supply 5V to the VIN pin. The DHT11 and OLED display are powered from the board's 3.3V output. For deep sleep projects, ensure your power supply can provide brief high-current bursts during wake cycles.

Package Includes

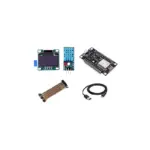
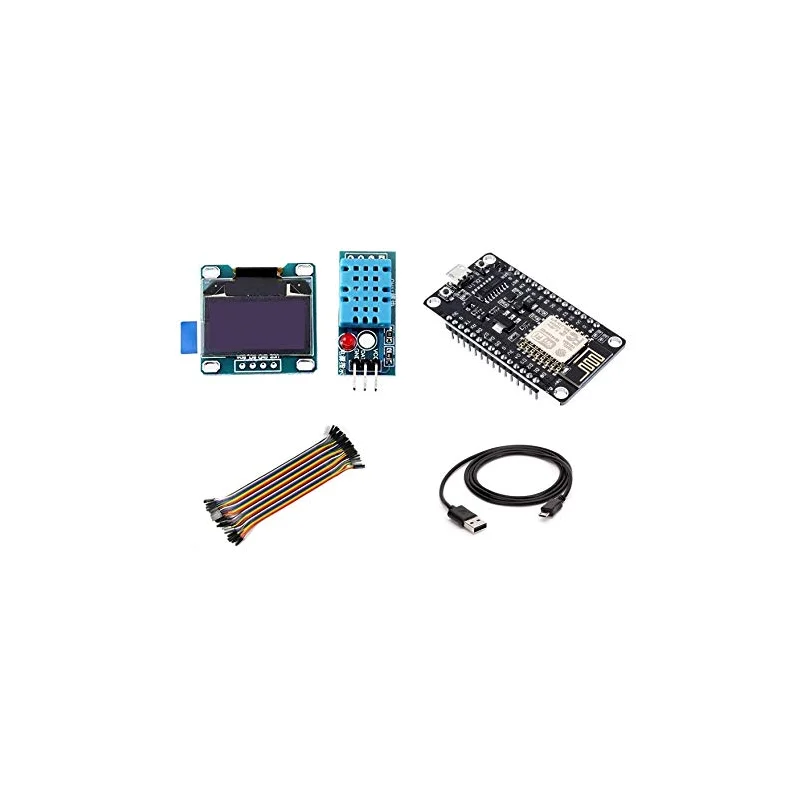
  • 1 x ESP8266 NodeMCU Development Board (CP2102)
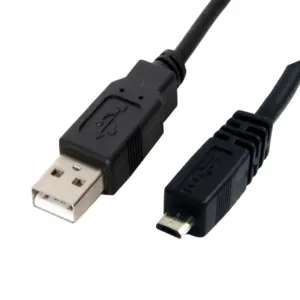
  • 1 x Micro-USB Cable
  • 1 x 0.96-inch I2C OLED Display Module
  • 1 x DHT11 Temperature and Humidity Sensor Module

Additional Information

Weight 0.008 kg
Dimensions 4.9 × 2.4 cm